How to Make a Voice Over Video: Step-by-Step Guide
Learn how to make a voice over video: record clean narration, sync it with footage, add captions and export audio that sounds right on every device.
You've recorded a spreadsheet tutorial, but the playback feels awkward. You're explaining a formula while the cursor is still opening a menu, then rushing through the result because the screen recording has already moved on. Learning how to make a voice over video starts with separating those jobs, so you can fix the narration without recording the entire demonstration again.
Table of Contents
- The Two Tracks Behind Every Voice-Over Video
- Choose Human or AI Narration Before Recording
- How to Record and Edit Narration Step by Step
- Syncing Narration to Visuals on the Timeline
- Captions and Audio Description for Sound-Off Viewing
- Test the Export on Real Devices Before Rendering
The Two Tracks Behind Every Voice-Over Video
A voice-over video combines visual footage with a separately recorded narration track. You plan them together, but edit them independently. That's what lets you replace a sentence, extend a screen capture, or hold on a chart without rebuilding everything.
For the spreadsheet tutorial, write what the viewer needs to understand before recording every click. Explain the purpose of the formula, demonstrate the action, then describe the result. Read the script aloud with a timer, and cut anything that delays the useful part.
Practical rule: Shorten an overlong script before matching footage to it. Speeding up the voice rarely fixes an explanation that contains too much information.
Use the finished narration as your pacing guide for screen recordings, charts, still images, and B-roll. Tutorials and product demonstrations need this separation because viewers must follow actions; explainers and documentary-style clips need it because the voice supplies context the image can't show.
You don't need a broadcast production setup to publish. The HistoryTools account of early online video documents how open uploading lowered distribution barriers, making straightforward creator workflows practical.
Prepare the message and materials
If you're adapting an existing article, the guide to converting a link into video can help you turn written material into a visual sequence. For decisions about audience and presentation, LunaBloom AI's video marketing insights offer additional planning context.
Before recording, tick off this checklist:
- Script ready: Each short chunk explains a complete idea and sounds natural aloud.
- Recording space ready: A microphone, headphones, and a quiet room are available.
- Visuals gathered: Screen captures, images, charts, or footage support specific sentences.
- Editor ready: DaVinci Resolve, Premiere Pro, or another editor provides separate audio and video tracks.
Don't polish transitions yet. First confirm that every sentence gives the viewer a reason to keep watching.
Choose Human or AI Narration Before Recording
A realistic synthetic voice isn't automatically a trustworthy choice. If listeners can't recognize a cloned voice, permission and disclosure become more important, not less.
In experiments summarized by Creative AI News's discussion of voice-cloning disclosure, cloned voices were judged human 58% and 70% of the time, compared with 62% and 72% for real voices, with no statistically significant difference; generic synthetic voices received roughly 39%–41% human judgments. These are listener judgments in those experiments, not accuracy guarantees for whichever tool you choose.
Narration type and the share of listeners who judged it human
| Narration type | Judged human in research | Suited to |
|---|---|---|
| Real human voice | 62% and 72% | Factual, emotional, medical, political, or testimonial material |
| Authorized cloned voice | 58% and 70% | Consented scripts with documented permission and clear disclosure |
| Generic synthetic voice | 39% to 41% | Low-stakes content where disclosure is clear and quality needs are modest |
The authorization requirement is a production safeguard, not a separate experimental category. A convincing clone still needs explicit permission covering the scripts, distribution, and contexts in which you'll use it.
Make the trust decision first
I'd choose a human recording when personal accountability or emotional nuance matters. A medical explanation or customer testimonial shouldn't sound like someone endorsed words they never approved. Keep a human approval step for sensitive material regardless of how the narration is produced.
For routine software instructions, synthetic narration may make revisions easier. Compare pronunciation and control using the text-to-speech model guide, rather than choosing solely from a polished sample. If you're exploring how to make faceless videos with AI, ClipNova AI provides a related production option, but a faceless format doesn't remove the need for disclosure.
Before committing to a voice:
- Test difficult language: Include names, abbreviations, product terms, and a full explanatory sentence.
- Approve each language: Have a native speaker review pronunciation and meaning.
- Document permission: Keep consent, approved scripts, original recordings, and a version log.
- Disclose synthetic narration: Put a clear notice in the video or description.
Preserve the speaker's meaning during cleanup. A hesitation can signal uncertainty, and removing it may make a cautious statement sound absolute.
How to Record and Edit Narration Step by Step
Record a clean voice before adding effects. A quiet room and consistent microphone position are more useful than trying to repair echo, clipping, and background noise afterward.
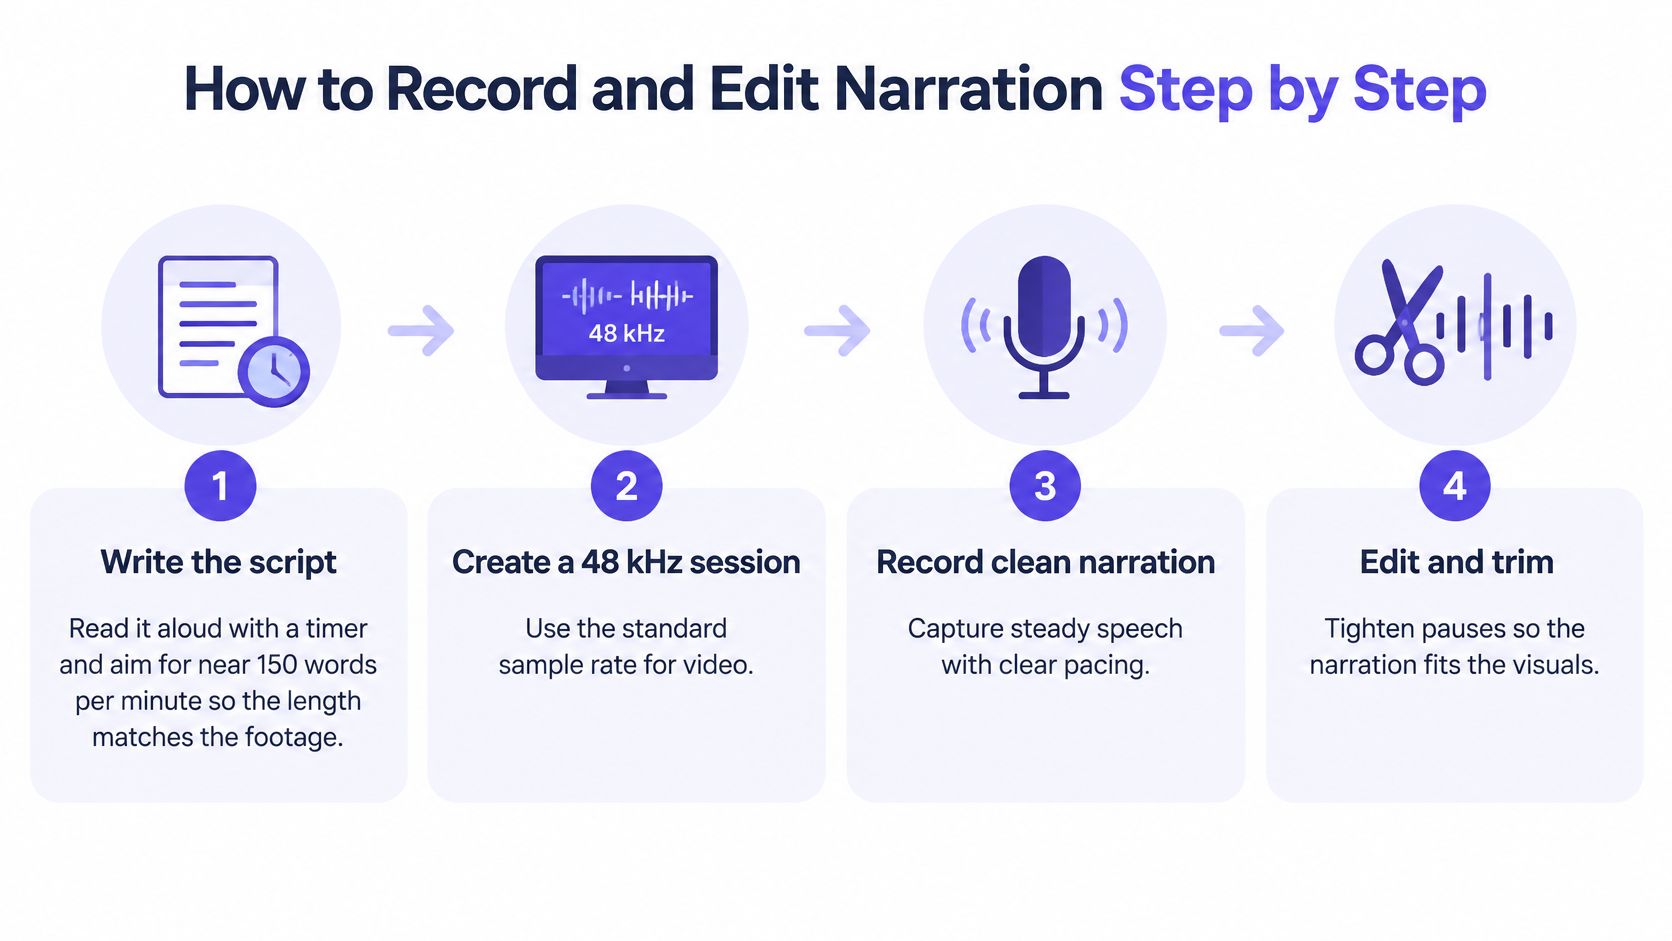
This visual summarizes the recording sequence.
Build a clean narration track
The technical starting points below follow the AudioUtils guide to audio for video creators, including a 48 kHz session, filtering around 80–100 Hz, compression around 2:1–3:1, a limiter near −1 dBTP, and integrated delivery targets near −14 LUFS or −16 LUFS.
Write and time the script. Read it aloud at a comfortable pace, marking places where viewers need time to inspect the screen. Rewrite crowded sentences instead of forcing yourself to speak faster.
Create the session at the sample rate listed below before importing recordings. In Audacity or your editor's audio workspace, confirm that the project and recording settings agree.
Record in the quietest suitable room. Turn off avoidable noise, use a pop filter, and keep the microphone slightly off-axis from your mouth. Capture some silence for room tone, and leave enough recording headroom that emphatic words don't clip.
Remove false starts and replace mispronounced words using complete phrases where possible. Keep useful pauses and natural breaths; apply short fades at edit boundaries to avoid clicks.
Process only what needs correcting. Start with the high-pass filter, use compression to control uneven phrases, and place the limiter near the end of the chain. Listen after each adjustment rather than loading a preset and assuming it's right.
Keep headroom while editing instead of normalizing every clip early. Build the visual sequence around the approved voice, then introduce music underneath it without changing the narration's natural emphasis.
Measure the completed mix before export. Choose the appropriate integrated loudness target, check true peaks, and listen through the processed track. A louder file isn't necessarily easier to understand.
Audio targets for a narration track
| Setting | Target | Why it matters |
|---|---|---|
| Session sample rate | 48 kHz | Standard for video, reduces unnecessary conversion |
| High-pass filter | 80–100 Hz | Removes low rumble; adjust if the voice becomes thin |
| Compression | 2:1 to 3:1, a few dB of gain reduction | Evens phrases without flattening delivery |
| True-peak limiter | About −1 dBTP | Leaves margin for playback peaks |
| Web delivery loudness | About −14 LUFS | Practical integrated target for web video |
| Speech-heavy social loudness | About −16 LUFS | Common spoken-content and social target |
Stop before cleanup becomes damage
Heavy noise reduction can make speech sound watery or metallic. Excessive limiting removes natural dynamics, while cutting every gap makes an explanation exhausting to follow.
A clean narration track sounds consistent, not sterilized. Keep consonants intact, room tone steady, and pauses purposeful.
For another practical recording reference, use Tutorial AI's voice over walkthrough. If you're generating rather than recording the voice, the text-to-speech download guide covers preparing an audio file you can bring into the edit.
Syncing Narration to Visuals on the Timeline
Start with the approved voice track, not the rough script. Spoken timing changes with emphasis, pronunciation, and pauses, so aligning footage to draft text creates unnecessary rework.
Keep the voice and picture on separate tracks while you make those adjustments.
Match phrases to visible actions
Say you're making a product demonstration that introduces a dashboard, a filter, and an export function. Place timeline markers where the narrator names each feature. Move the corresponding screen capture to that marker, then adjust its start so viewers can recognize the interface before the action happens.
Don't force a visual change at every sentence. Hold on a useful screen when the narrator is explaining it, and cut when the viewer needs new information.
For a tutorial, synchronize the cursor with the action being described. If the voice says to select the export menu, the cursor should be approaching or selecting that menu, not already opening the downloaded file. Trim idle footage, but preserve enough movement for viewers to understand where the control is.
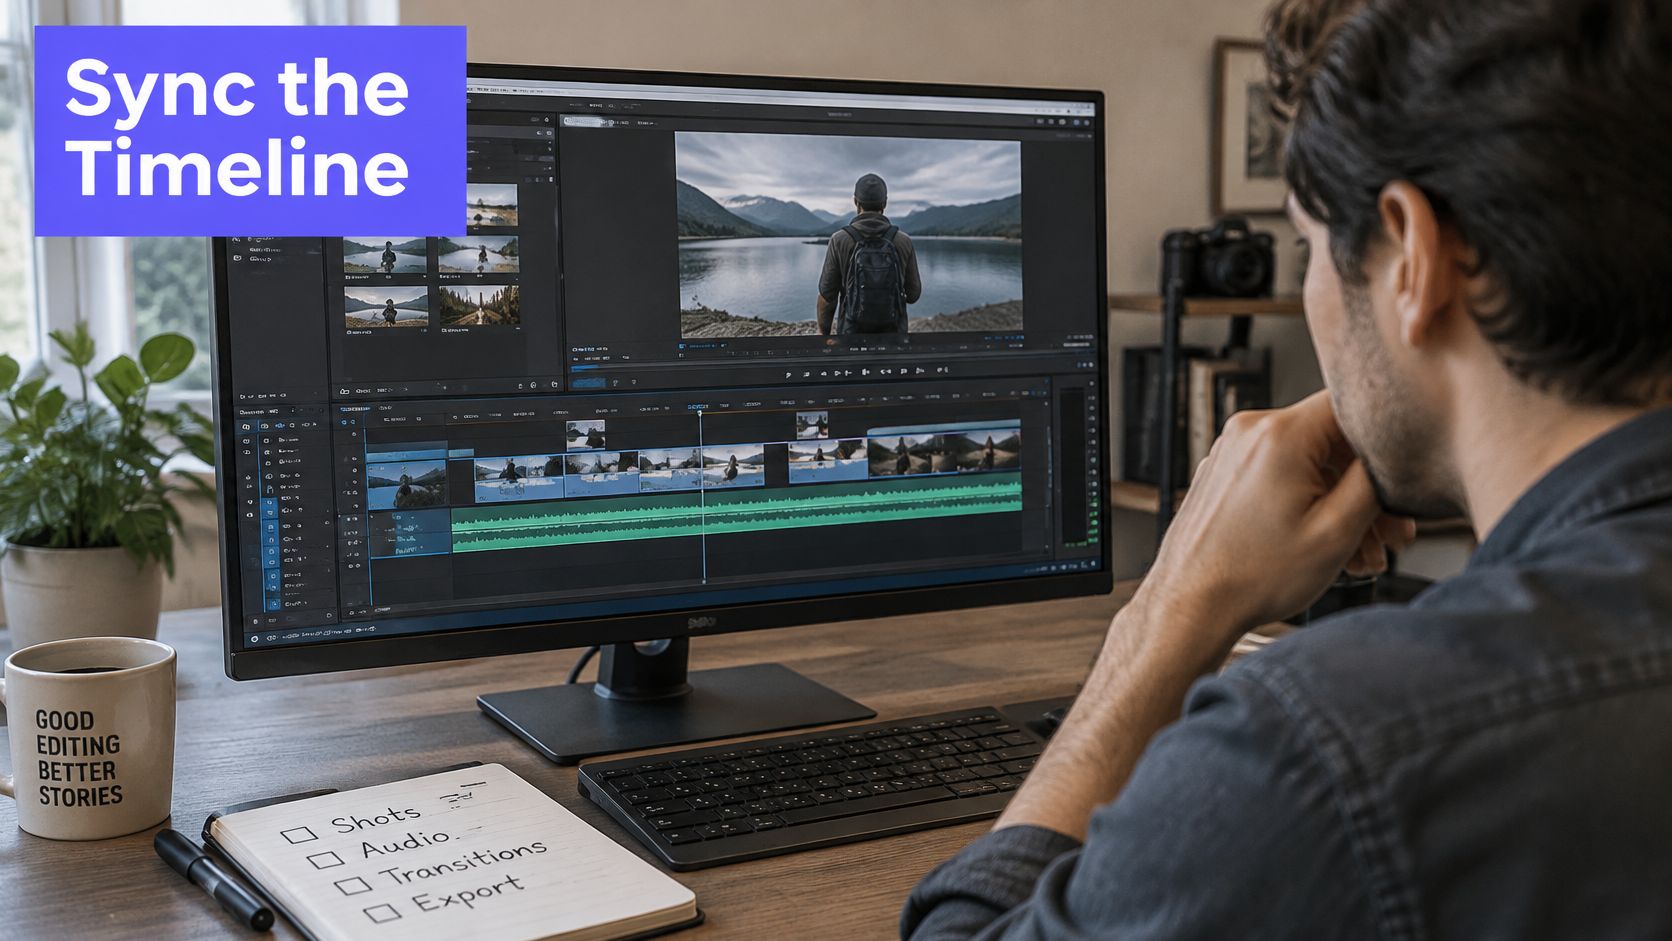
A timeline demonstration can help you recognize how these relationships look in an editor.
Add breathing room and check alignment
Before a major visual change, leave a short pause so the viewer can shift attention. If a step needs more explanation, extend a still frame or record a slower demonstration rather than stretching the voice unnaturally.
Use this timeline order:
- Markers: Identify phrase boundaries and the words that introduce important actions.
- Visuals: Position the relevant capture, chart, or B-roll against each marker.
- Pauses: Leave room to inspect results, especially after a calculation or interface change.
- Music ducking: Lower the music when speech begins, with smooth fades rather than abrupt level jumps.
- Drift check: Inspect the opening, middle, and ending for mismatched actions or visible lip-sync errors.
When a screen recording and narration disagree, decide which element is wrong. Move the footage if the explanation is clear; rewrite the sentence if it describes an action the viewer never sees. Don't hide a factual mismatch with a decorative cutaway.
Captions and Audio Description for Sound-Off Viewing
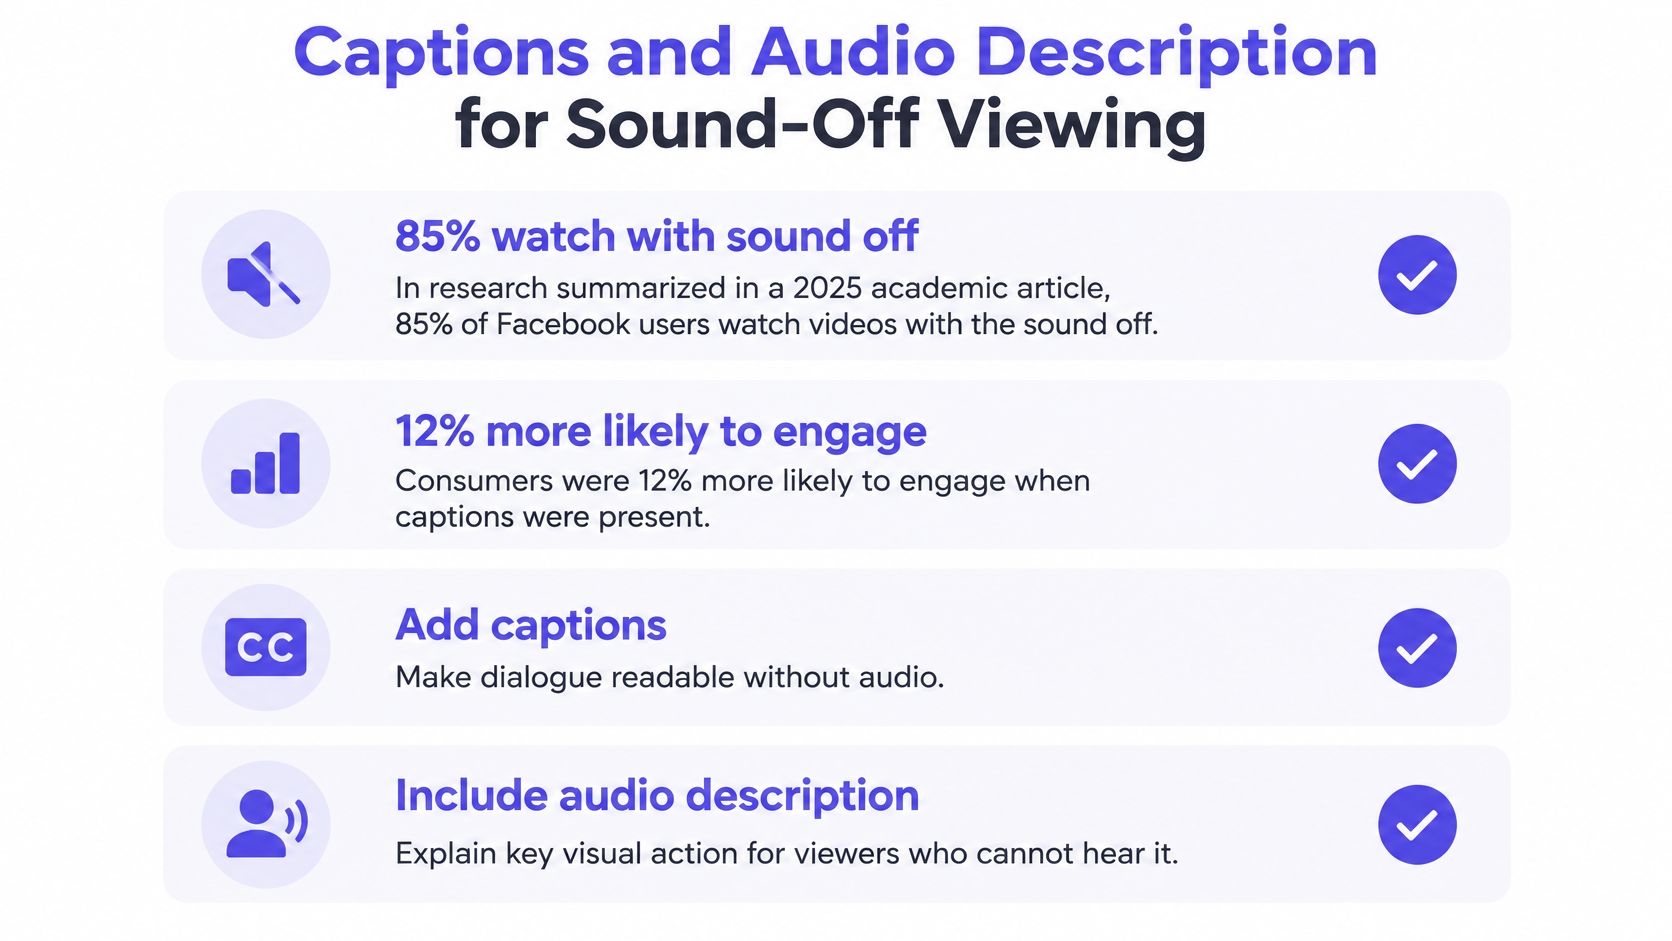
Research summarized in a 2025 academic article published by SAGE reports that 85% of Facebook users watch videos with the sound off, while consumers were 12% more likely to engage when captions were available. Those findings support planning captions alongside narration, rather than treating them as an optional publishing extra.
Generate captions from the final audio, then correct them manually. The draft script won't include every changed word, and automatic transcription can mishear product names, accents, abbreviations, and technical vocabulary.
Use the visual checklist as a prompt, while keeping the roles distinct: captions make speech accessible without hearing it; audio description explains visuals for blind and low-vision viewers.
Review captions as part of the picture
Time captions to the words being spoken, and break lines at readable phrase boundaries. Move them away from spreadsheet totals, interface buttons, or labels that viewers need to see. Include speaker identification and meaningful sound cues where they're necessary to understand the scene.
- Accuracy: Check names, technical terms, idioms, and words spoken with different accents.
- Readability: Give each caption enough display time and avoid crowded blocks.
- Placement: Preview on a phone so captions don't obscure important details.
- Translation: Have translated subtitles reviewed for meaning, not merely word substitution.
Describe information the voice leaves out
A caption transcript can't explain an unlabeled chart or a silent change in status. For audio description, write concise descriptions of essential visual information and place them in gaps without covering dialogue.
ACM research on audio-description preferences found that preferences differed by content, with prerecorded descriptions preferred for entertainment and user-triggered descriptions useful for educational, workout, and cooking videos. Keep description on a separate track where possible, and consider a descriptive version when the main soundtrack has no suitable gaps.
Accessibility check: Listen without looking, then watch without sound. These tests expose different missing information.
In the muted test, confirm that captions, labels, and pictures explain the point. In the listening test, check whether narration or audio description communicates essential visual results. Adding audio description won't fix a sound-off viewing problem; a visible label or caption will.
Test the Export on Real Devices Before Rendering
Export a demanding sample before rendering the full video. Include a dense explanation, an unfamiliar name, a music passage, and an important visual change, rather than choosing the easiest section.
A preview on another device can reveal problems your editing setup hides.
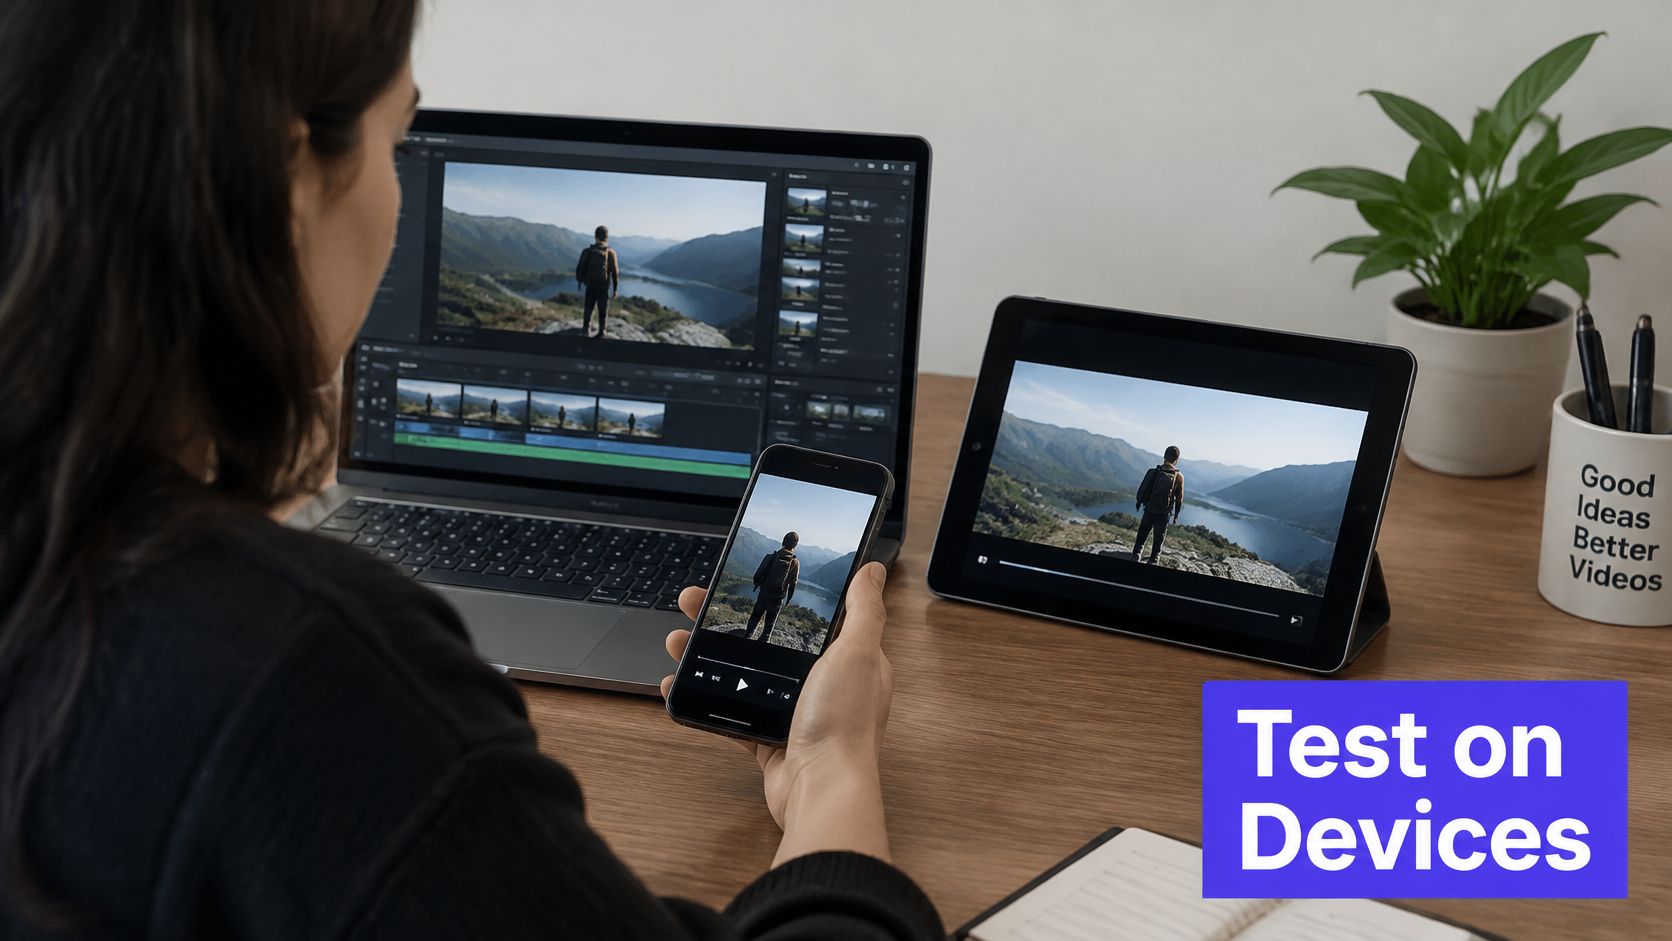
The AES technical document on loudness and intelligibility identifies ITU-R BS.1770 measurement as the standard approach for digital loudness and recommends dialogue-based anchoring. Use a compatible loudness meter, but don't mistake a passing reading for understandable speech.
Check the file, not just the timeline
Listen at an ordinary playback level without constantly adjusting the volume. If music hides quiet words, lower or reshape the music rather than pushing the entire mix harder into the limiter. Check that the export hasn't introduced clipped consonants, abrupt breaths, synthetic pronunciation errors, or timing shifts.
For generated footage, include production time and cost in the delivery plan. With our video generation, a video takes from about 30 seconds to several minutes to make; cost is the price per second multiplied by the requested clip length, and the request reply states the maximum cost before generation starts.
Finish with this device check:
- Export the test clip. Use the intended delivery settings and include captions in the form viewers will receive them.
- Play it on headphones, laptop speakers, and a phone. Check speech clarity, caption placement, and whether visual details remain legible.
- Measure loudness and review cost. Confirm integrated loudness and true peak against your chosen delivery targets, and approve the generation budget before requesting replacement footage.
- Fix, then render. Correct problems in the project, render the complete file, and inspect its opening, ending, captions, and audio before publishing.
MartLLM offers speech synthesis and video-generation models through a unified API, so you can create narration and supporting visuals within the same application workflow. Visit MartLLM to compare model outputs in the playground, test your script, and choose the audio and video options that fit your production.